The Dallas MQG is starting a round robin bee tonight. Each of us who wants to participate will bring in a center block, up to 24" square. We will be put into groups of 4 or 5, then each person in a group will pass her square to another group member, who will add a border. Next month, the process will be repeated, with each group handing off, round robin style. We will be using bags to hold the quilts, so no peeking to see the progress on your own square.
It took me awhile to decide on a center block. I was completely undecided (read: had NO clue what I was going to do) until I saw this block on Pinterest (originally from Pitter Putter Stitch).
It took me awhile to track down the pattern, but I finally found it. It's called Circle of Geese available as a free PDF from Piece By Number. The paper-pieced pattern is repeated 4 times to make one 12" circle block. I wanted a larger center for my bee block, so I tried to figure out how to enlarge it. I tried using a photocopier, but one or two attempts failed and I gave up. I looked for another pattern, and found one with a larger circle of geese, but I didn't like it nearly as well. Then I had one of those head slapping, "doh" moments. Make FOUR circles to make a 24" block! So that's what I did.
I used Kona Snow for the background and snips from each of 48 different fabrics in turquoise, pink/red, green, and yellow/orange. I'm pretty happy with how it turned out! Now I just have to get all those little crumbs of paper out of the sweater I was wearing when I tore out the paper foundations.
Showing posts with label flying geese. Show all posts
Thursday, February 9, 2012
Tuesday, January 24, 2012
Easy Flying Geese
I used to hate making flying geese blocks, with rectangles and squares at the corners to trim. They never came out very well, no matter how careful I was. Then I discovered Eleanor Burns' method, and now I actually LIKE making those geese!
They start with two different squares of fabric. For four 3"x6" flying geese blocks, you start with a 9 inch square of background fabric and a 7 1/2 inch square of geese fabric.
Center the smaller geese square on the background fabric, right sides together, and draw a diagonal line from corner to corner. It can be in pencil or ink since it will be your cutting line.
Sew 1/4 inch on either side of the line, then cut the two pieces apart.
Press each odd-shaped piece towards the larger, background fabric.
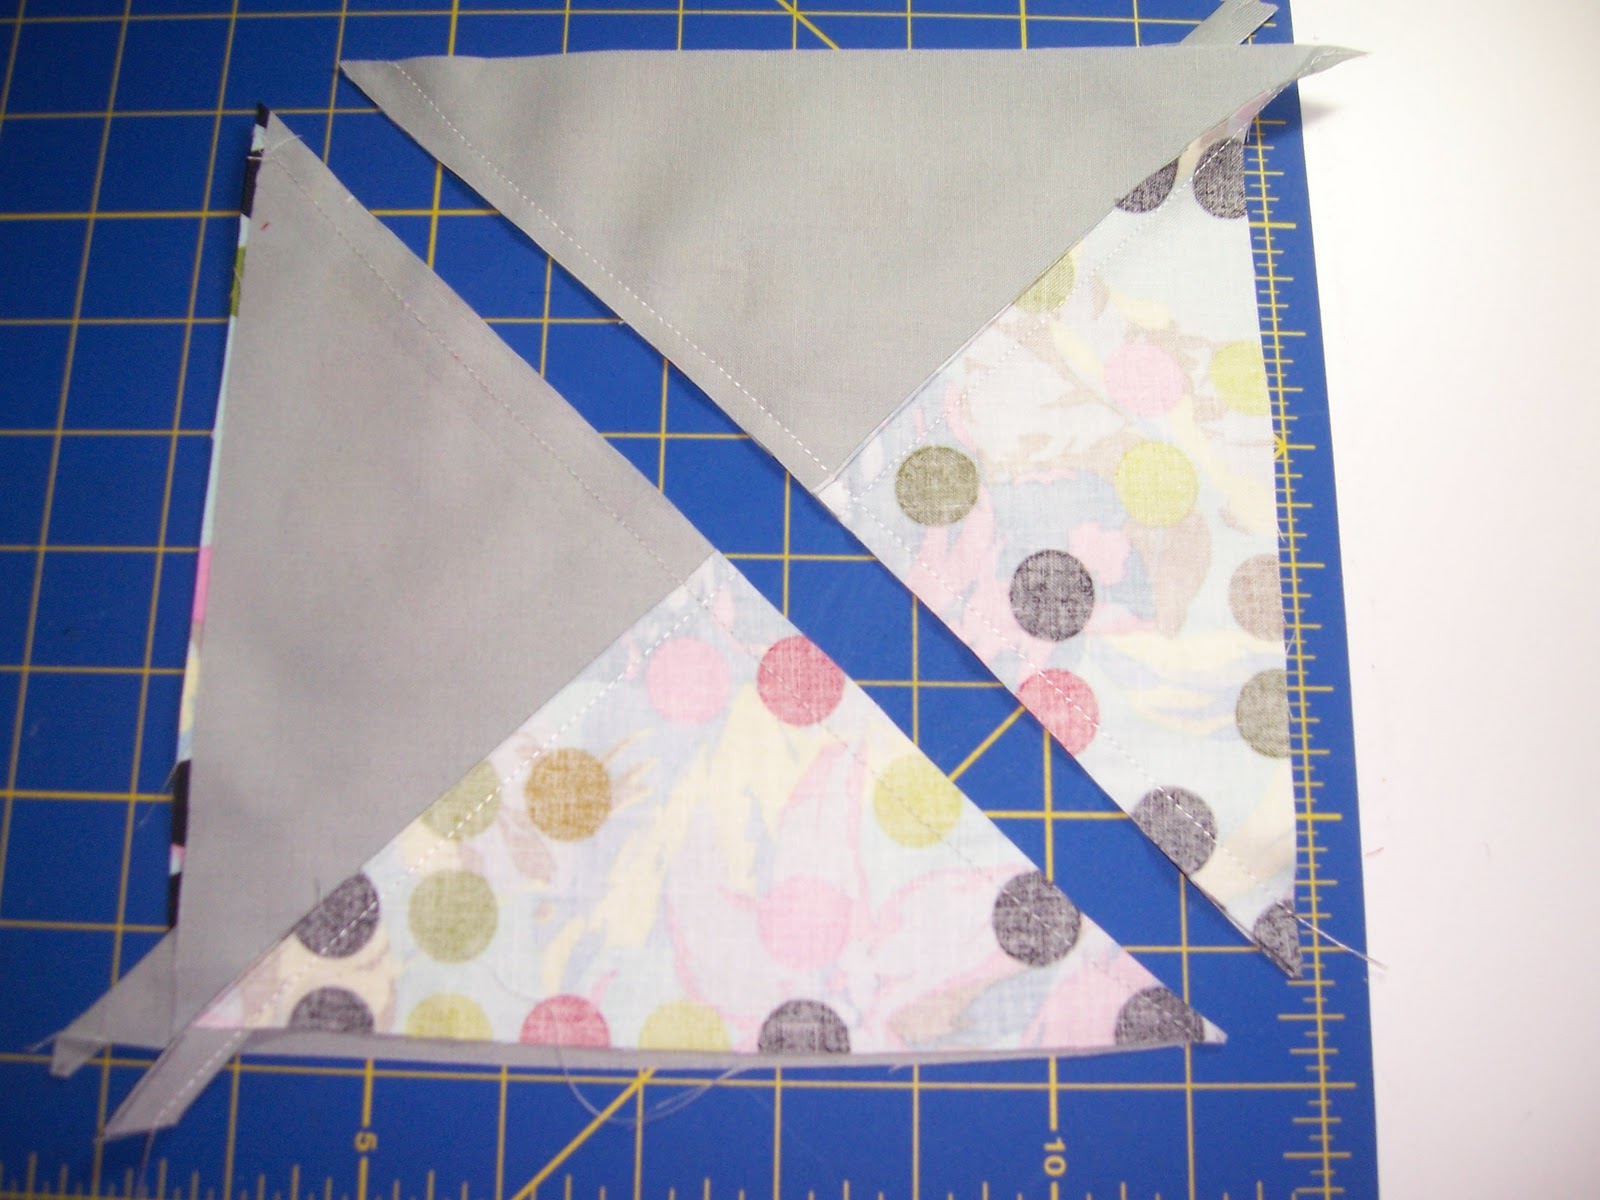
Now, put the two odd-shaped pieces right sides together, with the right side of the geese fabric facing the right side of the background fabric. The seams will NOT match. They will be offset by about an inch. Draw another diagonal line from corner to corner across the seam.
Sew 1/4 inch on either side of the line, then cut the two pieces apart on the line.
Make a snip in the seam allowance halfway between the two intersecting seams. Press the seams toward the background fabric.
You will now have two squares, each with two geese. On the front, the two geese will be off-center. Position the Eleanor Burns flying geese ruler over one of the geese, lining up the lines with the seams of the geese. Trim all four sides. I like to use my rotating mat for this step so that I don't have to move either the fabric or the ruler.
Trim the other geese and you now have two flying geese with very little waste left over.
Trim both geese on the second square and you'll have 4 perfect flying geese squares!
Subscribe to:
Posts (Atom)